Winona Dr Renovation

{Progress}

Photo by Trina Turl

Photo by Trina Turl

{Progress}

Ahhhh, wouldn’t it be glorious to soak in here? This interior second floor renovation project for a family of four on Winona Drive in Toronto is ready to be revealed. It all started with the bathroom.

When families share one bathroom on the sleeping floor, the bathroom needs to work HARD. It has to provide room for help with toddler tooth brushing, potty training, room to groom oneself, and goodness willing, a place to soak on a winter’s night.

See? Super cramped.

See? Super cramped.

This second floor bathroom underwent a major transformation from a cramped three piece to a zen four piece washroom. We did this by stealing space from an adjoining room. I know, I know, we don’t usually recommend this in small homes because it makes the other room awkward and useless as a bedroom, but the fourth bedroom was being used as a walk in closet anyhow. Plus we added a sandblasted glass pocket door to squeeze even more out of the space.

Plan drawing of the second floor. We “stole” about 2-1/2" feet from the smallest bedroom.

Plan drawing of the second floor. We “stole” about 2-1/2" feet from the smallest bedroom.

Demolition stage. Oof, that plumbing looked rough.

Demolition stage. Oof, that plumbing looked rough.

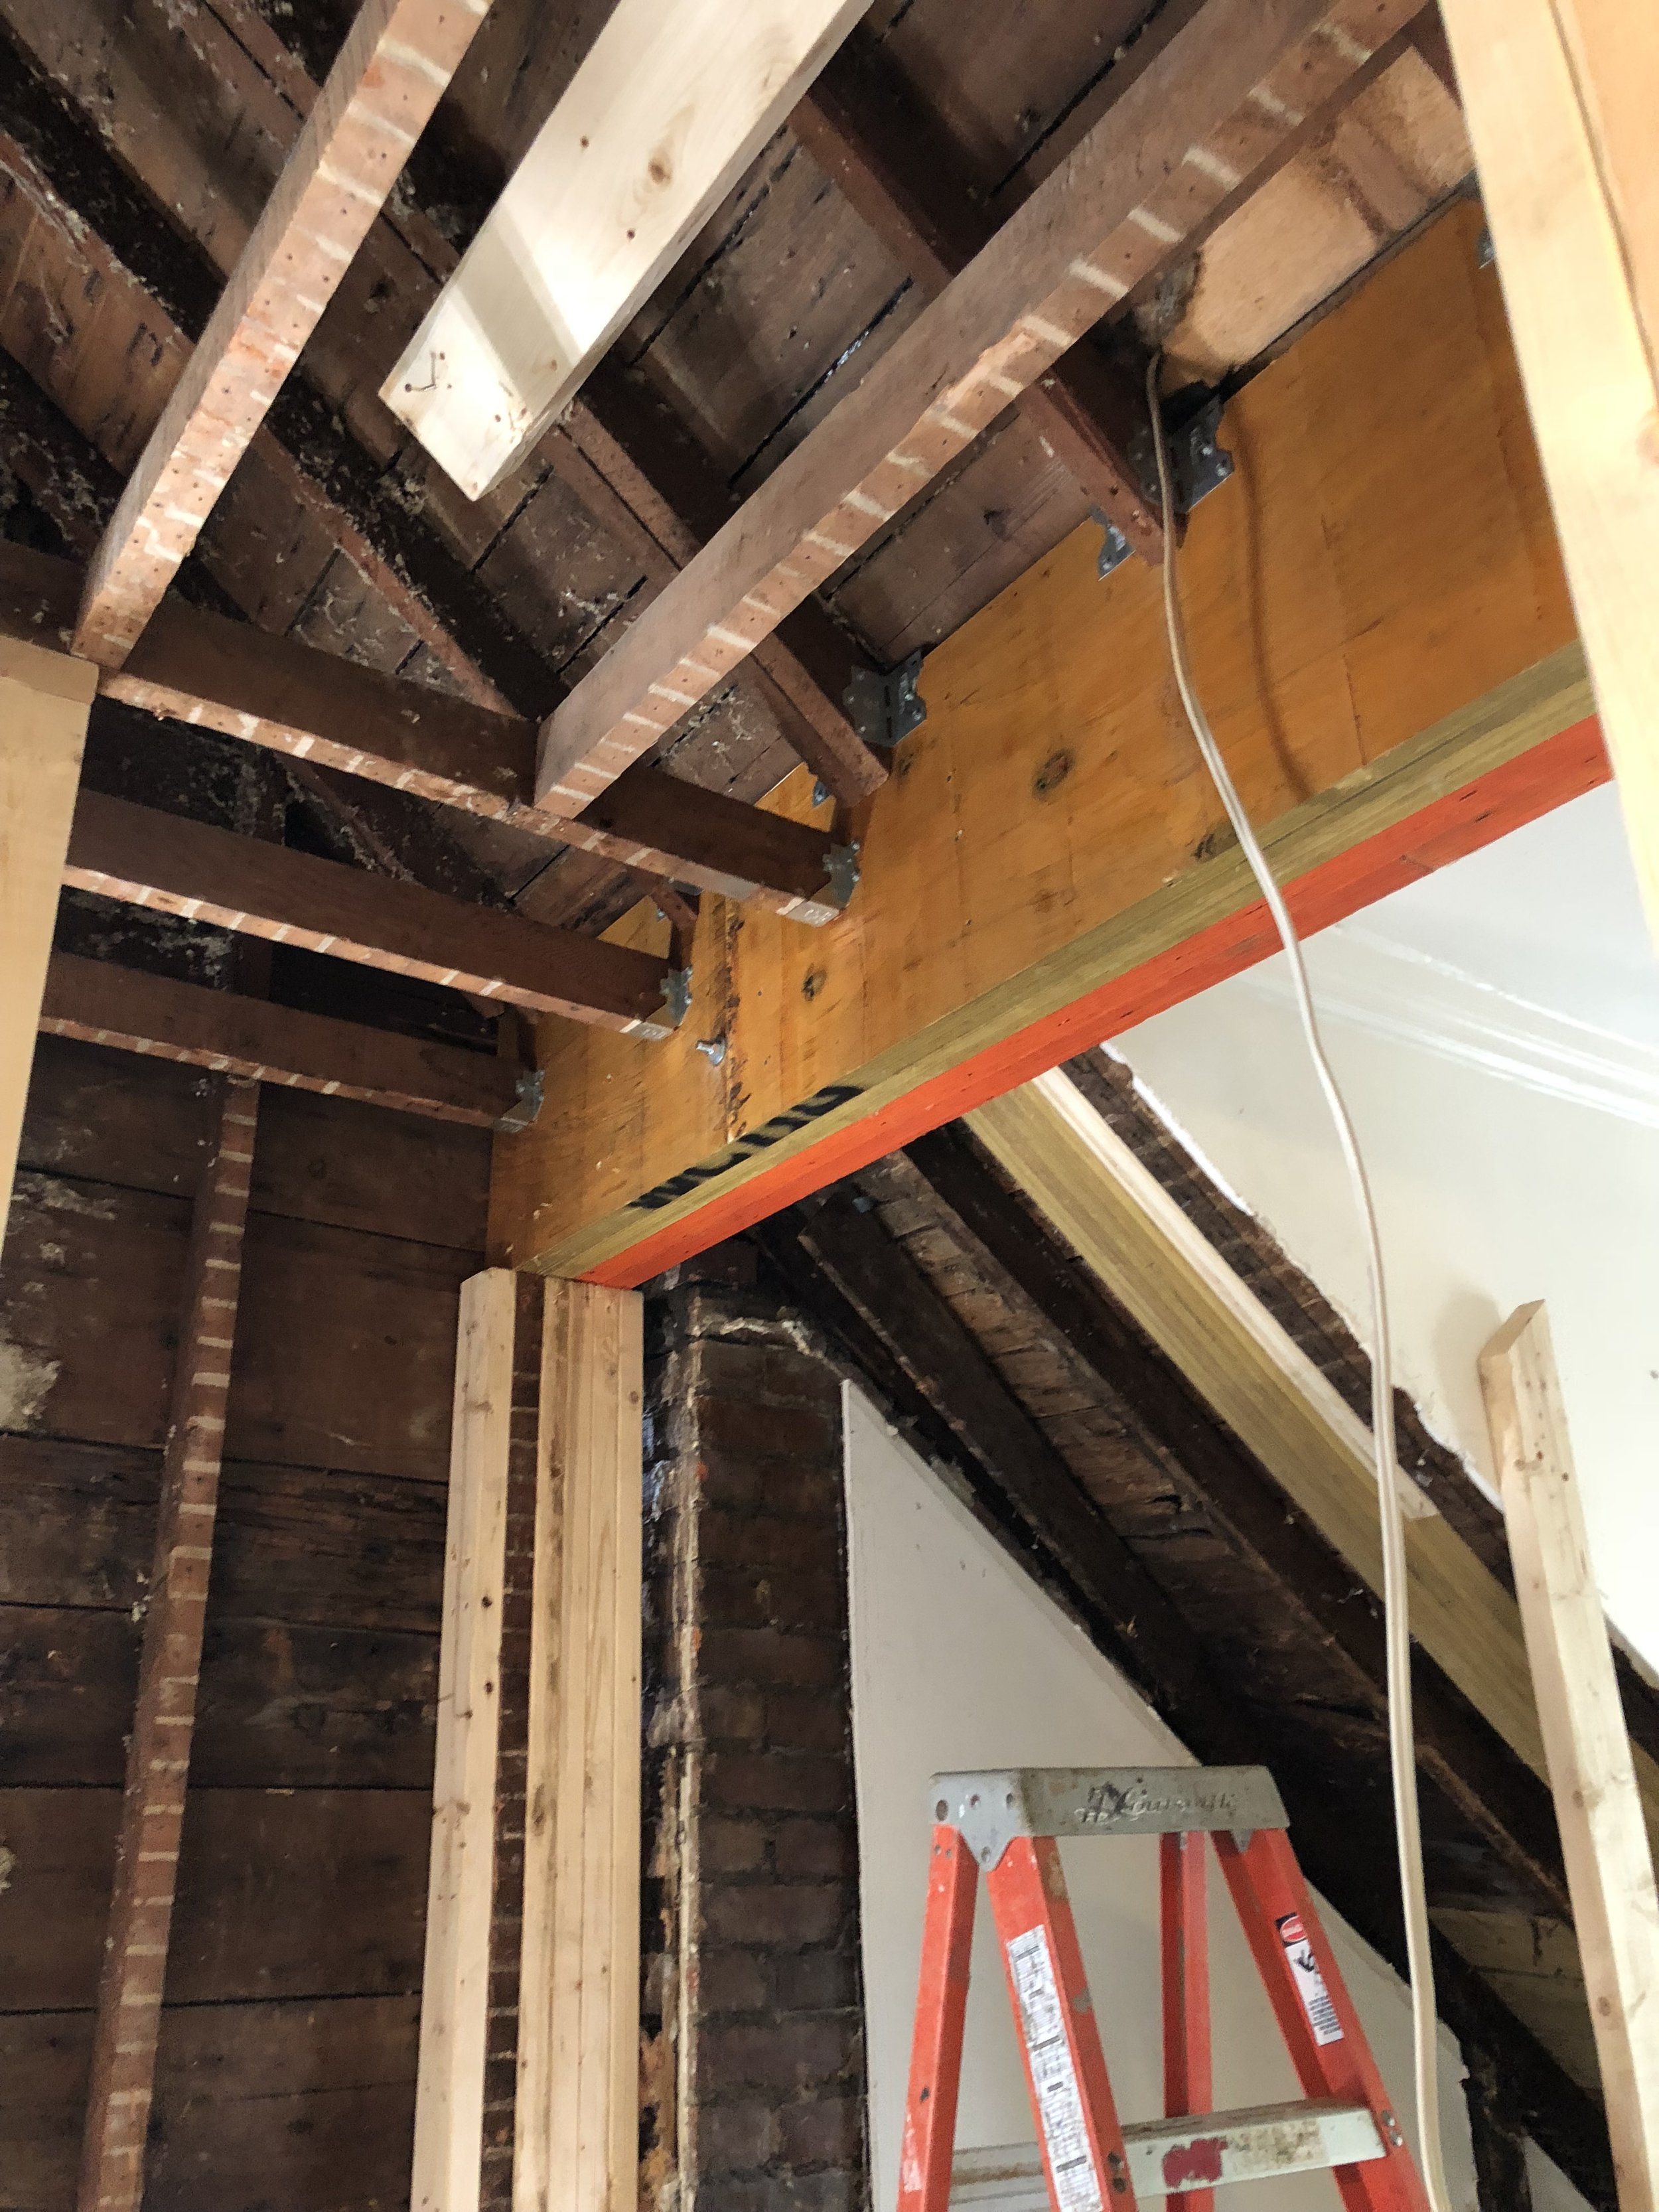
As usual, old homes always hold fun little structural surprises, and this one was no different. After demolition, the main rafters seemed to be held up by paint alone, yet it the house was still standing! We had to scramble to design, repair and reinforce the structure before going ahead. Blackwell Engineering swooped in to consult on this beefy beam.

structural_beam.JPG

Built by Webb and Lashbrook, the renovation also included new custom millwork for closets and a desk in the girls’ bedrooms, as well as new insulation on the side walls and gables and new electrical throughout. It turned out to be a nearly complete gut job of the entire second floor, and it was completed beautifully.

Photo by Trina Turl

Photo by Trina Turl

We can’t take much credit for the impeccable minimalist style, the homeowners had a clear vision for the finishes from the very beginning and we were able to help bring it all together.

Photo by Trina Turl

Photo by Trina Turl

These two sweethearts were so good to let us photograph them! Photo by Trina Turl.

These two sweethearts were so good to let us photograph them! Photo by Trina Turl.

Think a renovation like this isn’t possible for your home? Consider booking a home design consultation with Drôle House to find out. The form is all ready for you below.

Postcard 12

{Postcard 12}: "How can I get the most out of a large closet?" - Submitted by Divyang

{Postcard 12}: "How can I get the most out of a large closet?" - Submitted by Divyang

Divyang and Kushbu's toddler son has an underused closet in his room, and they want it to put it to better use. They wonder if there are any hidden opportunities in this tall, squarish enclosed space. 

Divyang's design challenge includes:

  • a 35"Wx40"Dx100"H enclosed closet with no organized shelving currently
  • the need to store LOTS of beloved toddler books, clothes and diaper boxes
  • an adaptive layout that their son could grow into without having to rebuild it completely 

The suggested closet layout has three parts that turns it into a mini-library and play space. The first part is a 18" deep shelving unit with two levels, one for books within reach for a toddler, the higher level for folded clothes and diapers. The second is a narrower 8" shelving unit with integrated ladder affixed to the wall and ceiling. The third is a netted crow's nest that makes use of the upper 30" of head space, which also includes a new opening (netted for safety) above the existing closet door. 

A strip of LED lighting can be installed beneath the lowest bookshelf to brighten the pillow-covered toddler sized reading nook on the floor. That bookshelf is within reach, but the upper clothes +diaper one above is just beyond toddler grasp. Similarly, the first rung on the ladder is off the floor by two feet, which means only kids aged 3 and up will be able to hoist themselves up there to reach the crow's nest. The upper crow's nest/hideout then is suitable for kids aged 3-8.

As their toddler grows into a tween, the modification to the layout would be to:

  • remove the ladder and 8" shelf unit
  • lower the 18" unit to dresser height and add drawers
  • cap the upper opening with a panel in the same style of the existing door
  • convert netted crow's nest into traditional upper shelf for long term storage

The hanging rod stays at the same 5'6" height in both versions. Just a few screws to remove, holes to patch and voilà!

Could your closet be this fun?

~Deborah

Postcard 9

{Postcard 9} - "How can I make my narrow apartment entrance more functional?" Submitted by Tarryn

{Postcard 9}: How can I make my narrow apartment entrance more functional? - Submitted by Tarryn

Tarryn's second floor apartment entrance is up a narrow flight of stairs. In her sketch, she points to the "shoe mess" that inevitably collects in piles right at the doorway, making it challenging to move through especially dragging a stroller and pre-schooler.

Tarryn's interior design challenge includes:

  • a narrow shared stairway entrance to a second floor apartment
  • the need to store a family-of-four's worth of winter boots and shoes outside the door
  • the need for solution to be moveable (i.e.: no holes in the wall) because it's an apartment
  • keeping the passway and landing as clear as possible for neighbours
  • re-using the solution in a future home

Entrances without vestibules are so frustrating in northern climates! Having a door enter directly into a hallway leaves very little room for anything but circulation. Where is all the stuff supposed to go? Not clutter, just everyday boots, umbrellas and stroller stuff. The design of this apartment complex didn't accommodate wintertime use let alone the needs of families with littles ones. So, how to fix it?

One possible idea is a tetris-like custom shoe storage bench that fits directly on to the stairs. It's made as bench structure first, with a stepped plywood back for sturdiness. Channels can be routered in the main structure to fit 1/4" panels to divide the storage into cubbies of different sizes. It keeps shoes organized off the floor, as well as comfortable child's height bench (and adult on the longer end) for putting on and removing shoes.

Though a custom piece like this wouldn't likely fit on any other staircase because of the variety of stair riser heights, it can have insanely fun alternate uses. It can be flipped to become a modernist play structure/dollhouse or wall mounted to transform into a child's desk. See? Like tetris.

What alternative uses can you see?

~Deborah